Are your car headlights looking foggy? It’s important to have clear lights for a multitude of reasons, ranging from the resell value of your automobile, to making sure they reach as far as they can for safety reasons. If your headlights are looking dingy, but you don’t have the cash to take your car to an auto shop, you can restore them with a few cheap supplies. Check out the tutorial below to start cleaning up your car today.
You only need a few supplies to make your headlights shine.

You’ll need sandpaper in 400 grit, 600 grit, and 2000 grit, rubbing alcohol, paper towels, water in a spray bottle, clear coat, painter’s tape, garbage bags, and a pair of scissors.
Tape off your headlights with painter’s tape. Then grab your water and 400-grit sandpaper.
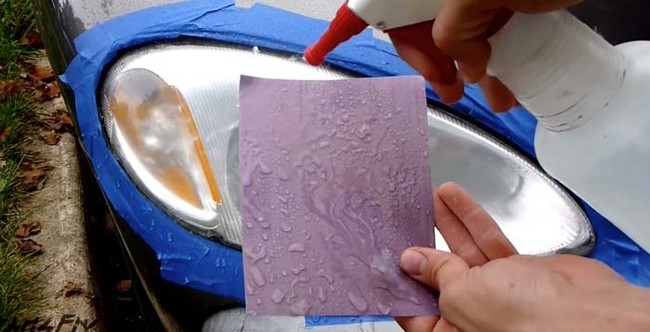
Before you start sanding down your headlight, spray the headlight and the paper with water. Lightly brush the headlight in circular motions, then horizontally.
The water keeps the sandpaper from creating scratches that are too deep, and the horizontal scratches keep the clear coat from dripping down the headlight.
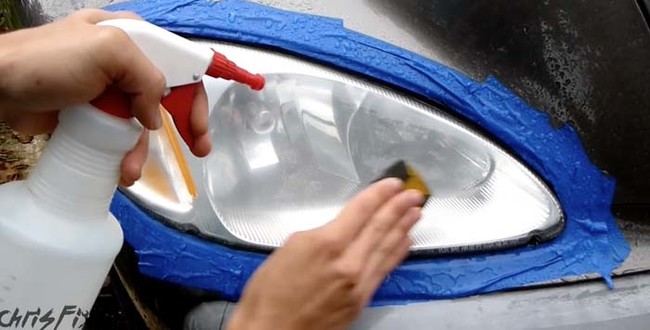
Repeat this process with the 600- and 2000-grit sandpaper. The headlight should look pretty clear when you’re done.
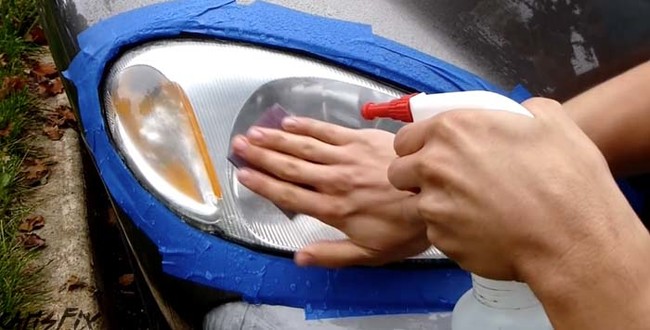
When you’re finished with the sandpaper, use a lint-free paper towel to wipe down the headlight with rubbing alcohol.
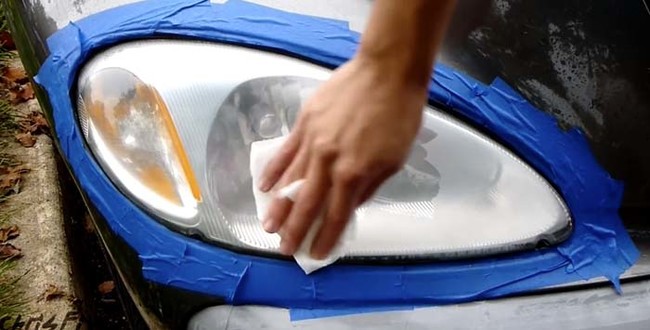
This helps dry the headlight, since alcohol evaporates quickly.
Before you apply the clear coat to your headlights, cover your car in garbage bags to prevent the spray from getting on your paint job. Use the scissors to cut around the headlight.
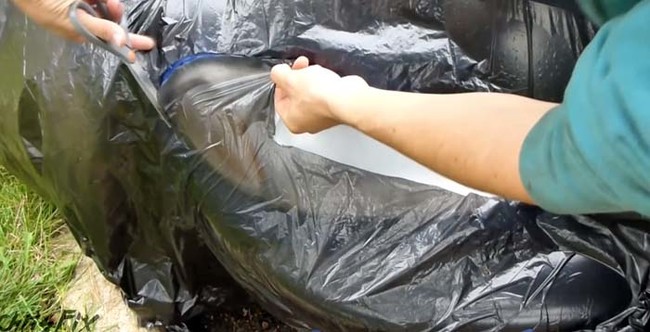
Tape the garbage bag around the headlight to prevent any dripping.
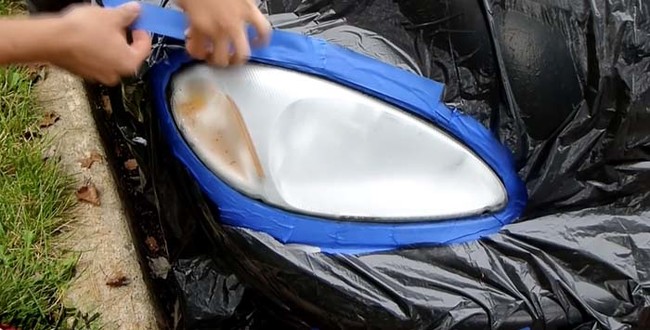
Wipe the headlight down once again with rubbing alcohol. Give it five minutes to dry.
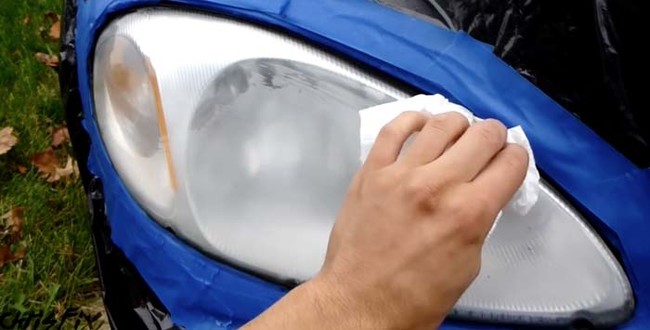
Apply the clear coat in horizontal, thin, even spritzes. Wait five minutes between coats, ultimately applying three coats.
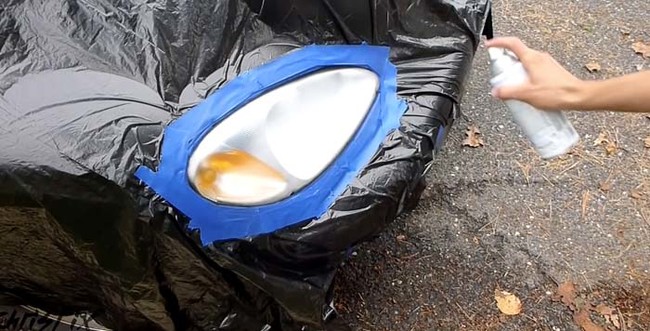
Make sure to read the instructions before you apply the coat.
Once you’ve applied all of your coats, give the headlight a full day to dry. If the coat looks a bit bumpy, you can use the wet sandpaper technique like before with 2000-grit sandpaper.
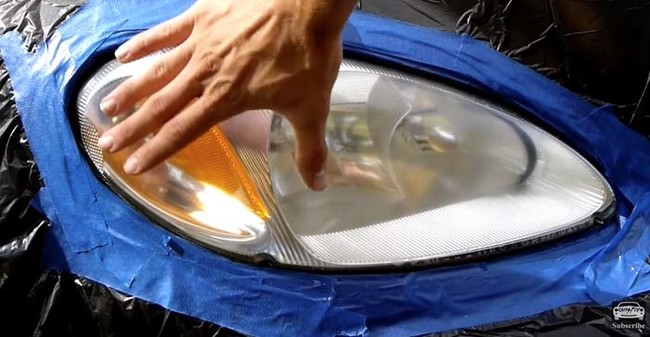
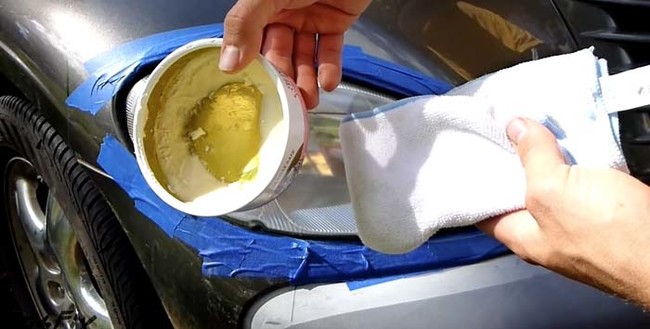
And finish it off with a bit of car wax.
Want more detailed instructions? Watch the entire tutorial here.
(source ChrisFix)
I’ve always been afraid to do anything like this to my car since I’m not an automotive expert, but this DIY project seems so simple! Even a car dunce like me could execute it successfully. Plus, it’s so much less expensive than taking my baby to a professional.
